Setting Up YYCam Pro for TikTok
YYCam Pro is professional camera enhancement software that supports real-time skin smoothing, skin tone correction, virtual background replacement, and more. It seamlessly integrates with TikTok via a virtual camera. This tutorial will guide you through setting up YYCam Pro with TikTok quickly, helping you look your best during live streams!
1. Download YYCam Pro
Official Download Link: https://v.yy.com/en
1.1 Open your browser (Chrome, Edge, or other mainstream browsers recommended).
1.2 Enter the official website link `https://v.yy.com/en` into the address bar to access the site.
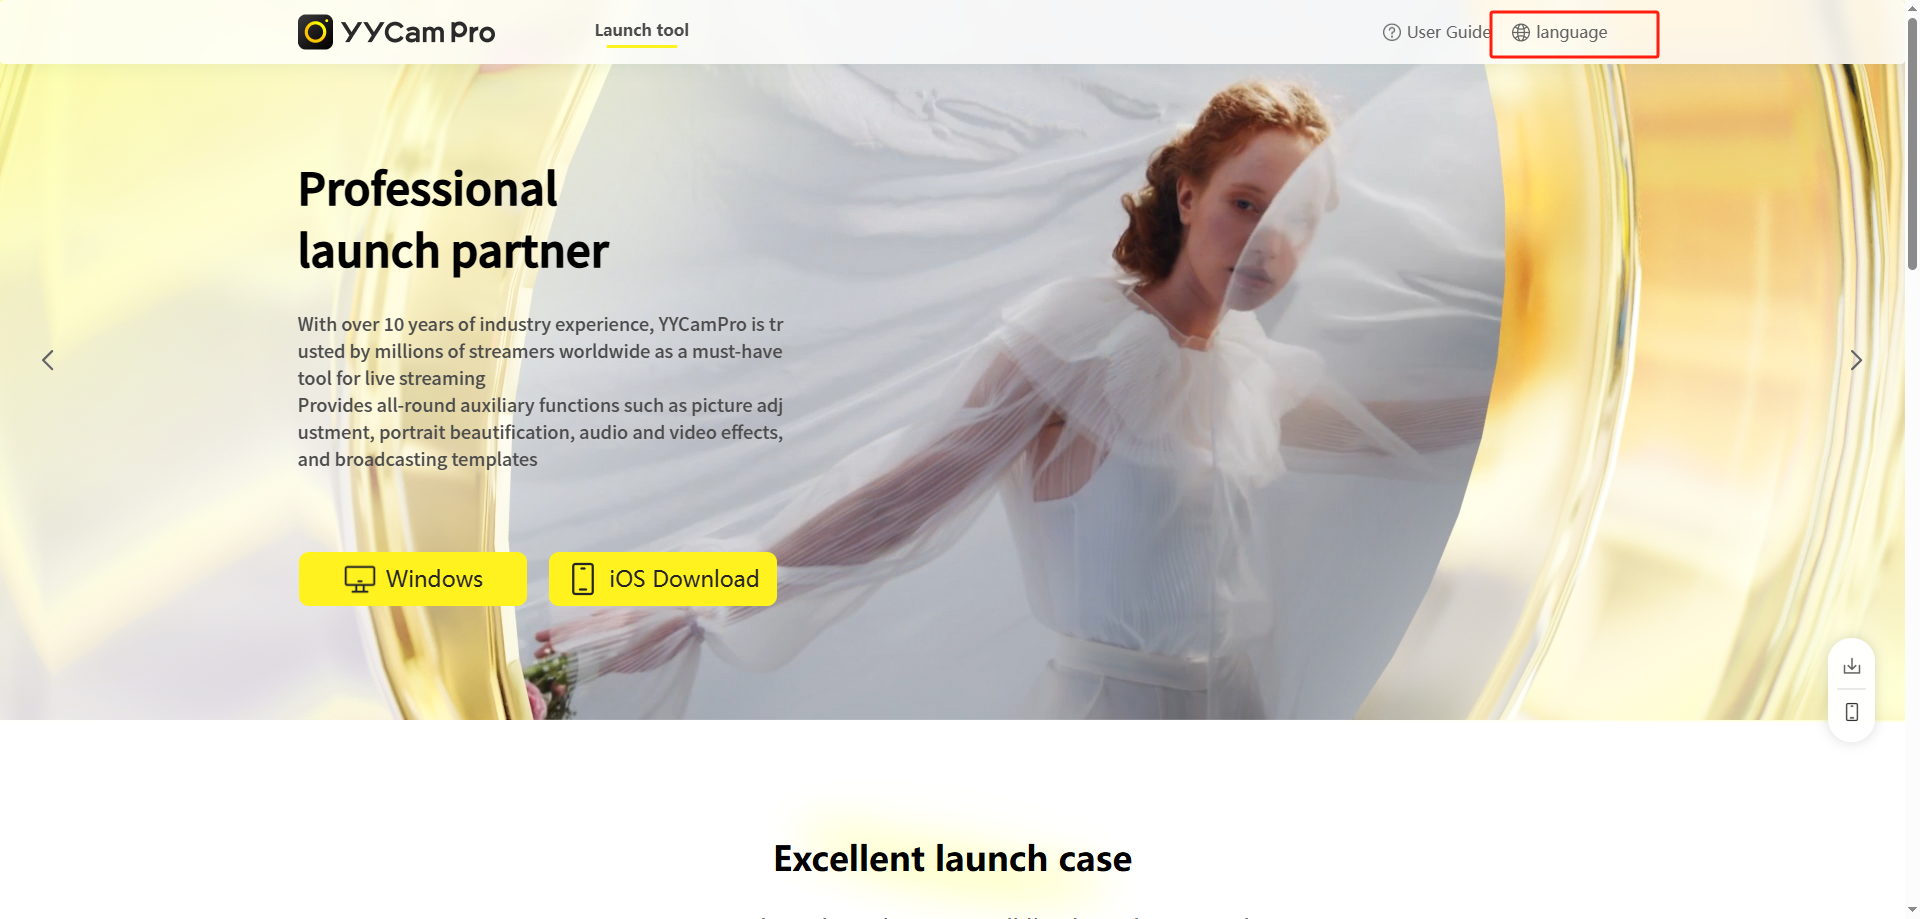
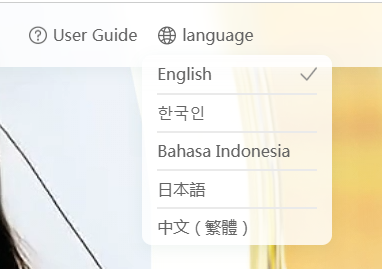
- If the page language isn't English, click the language switch button in the top right corner to select your language (depending on website support)
1.3 On the homepage, select the Windows version.
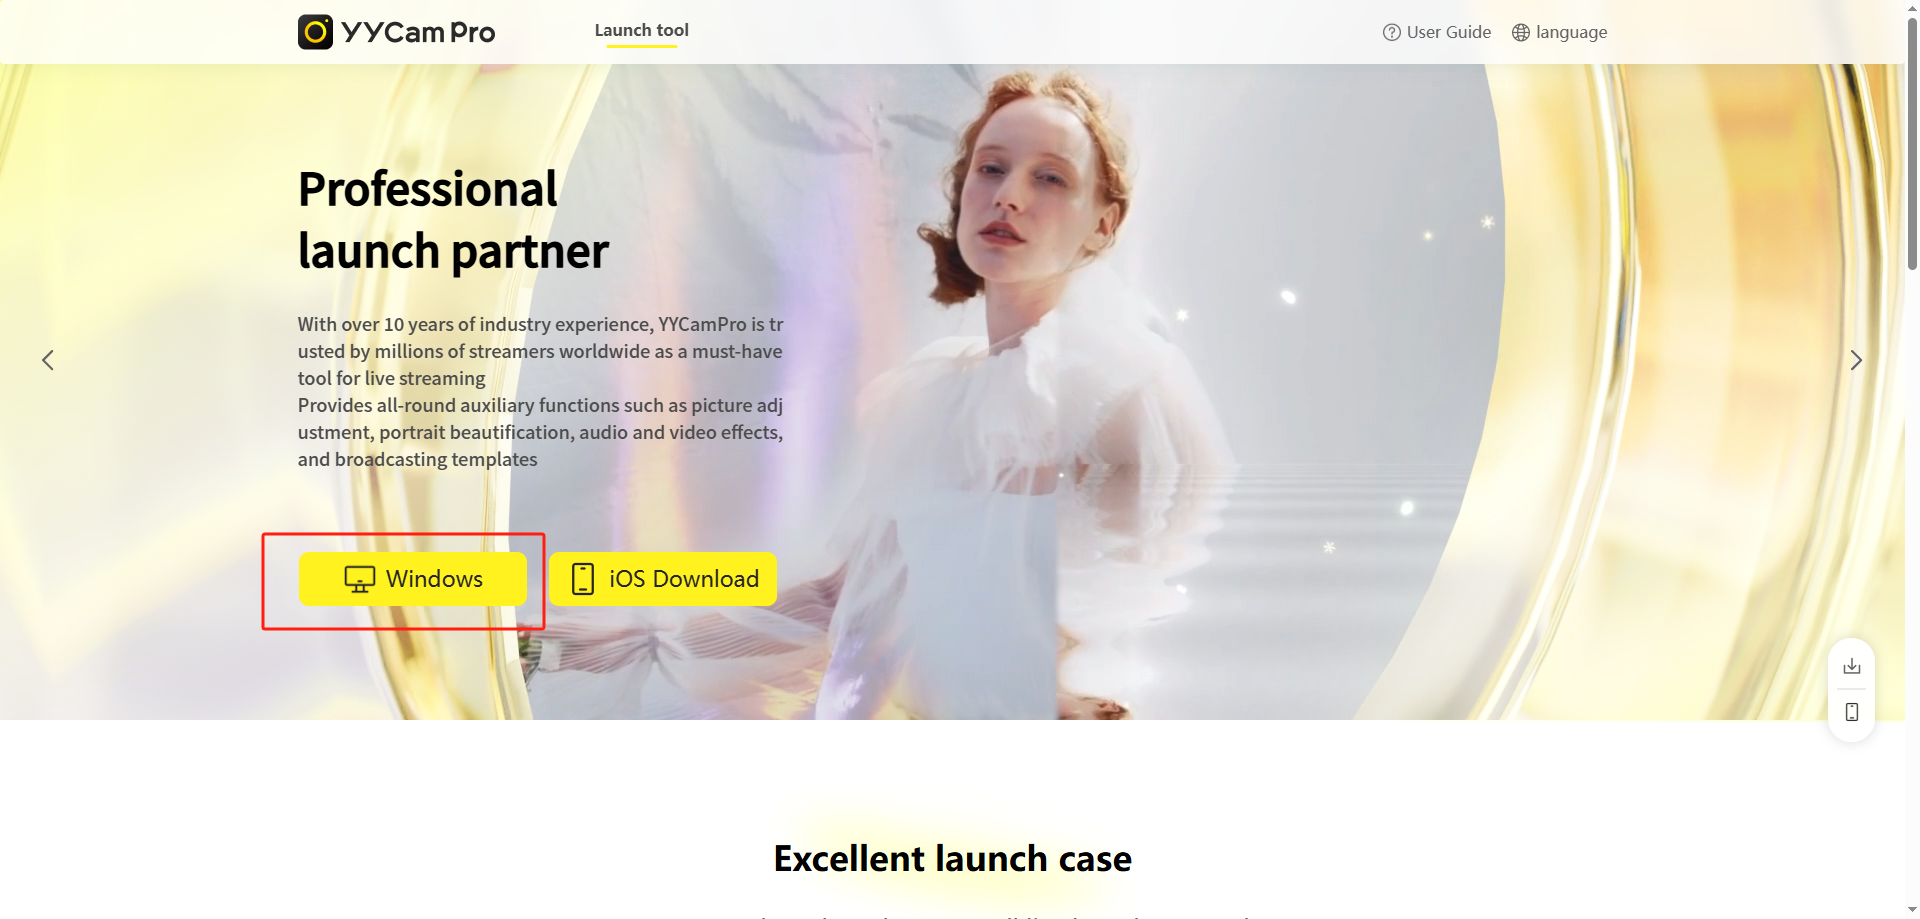
1.4 Click to automatically download the installation package.
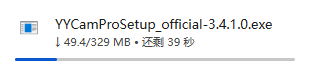
1.5 Once the download is complete, click to install YYCam Pro.
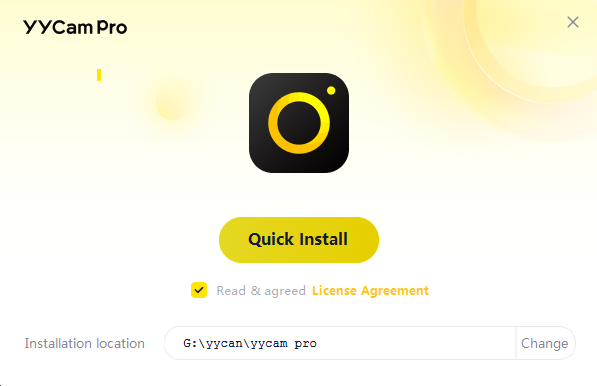
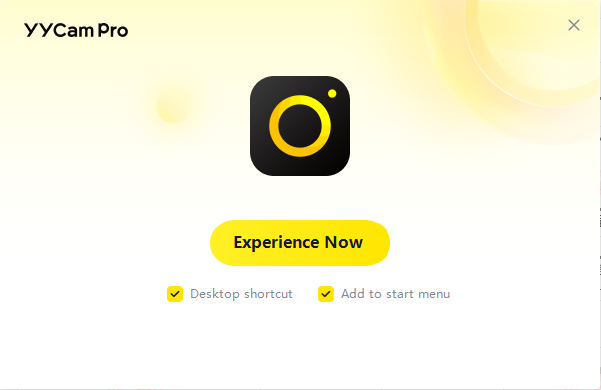
1.6 After installation is finished, launch the program.
2. Set YYCam Pro to Landscape/Portrait Mode
Note: Before setting this, close TikTok LIVE Studio. Otherwise, the landscape/portrait setting option will not be visible in YYCam Pro. If you still can't find the setting after closing TikTok LIVE Studio, restart YYCam Pro.
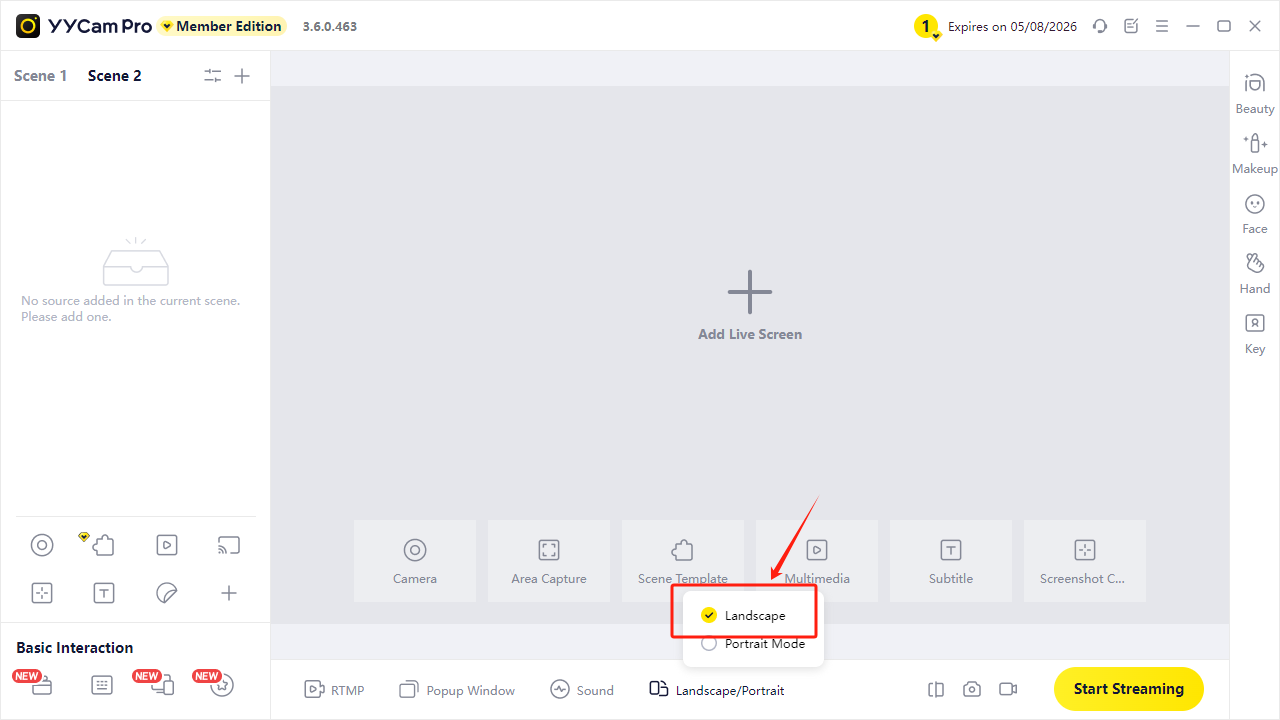
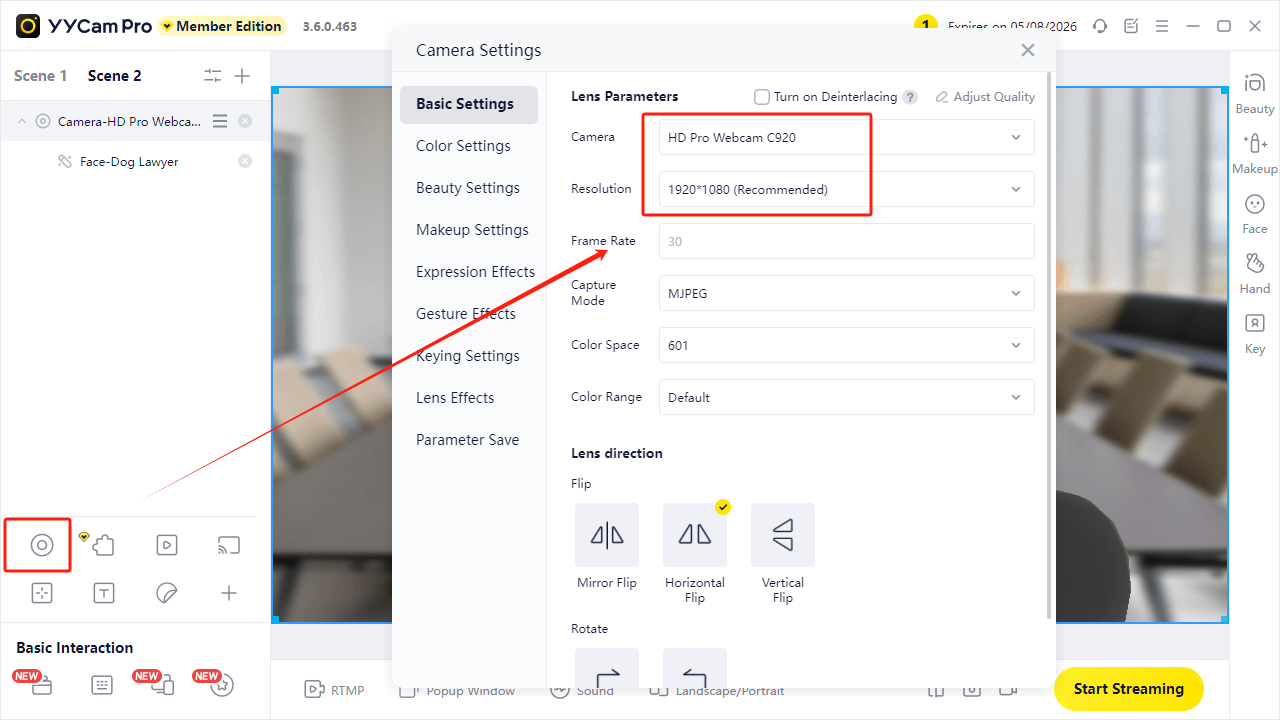
2.1 Setting Landscape Mode:
2.1.1 Select the Landscape option
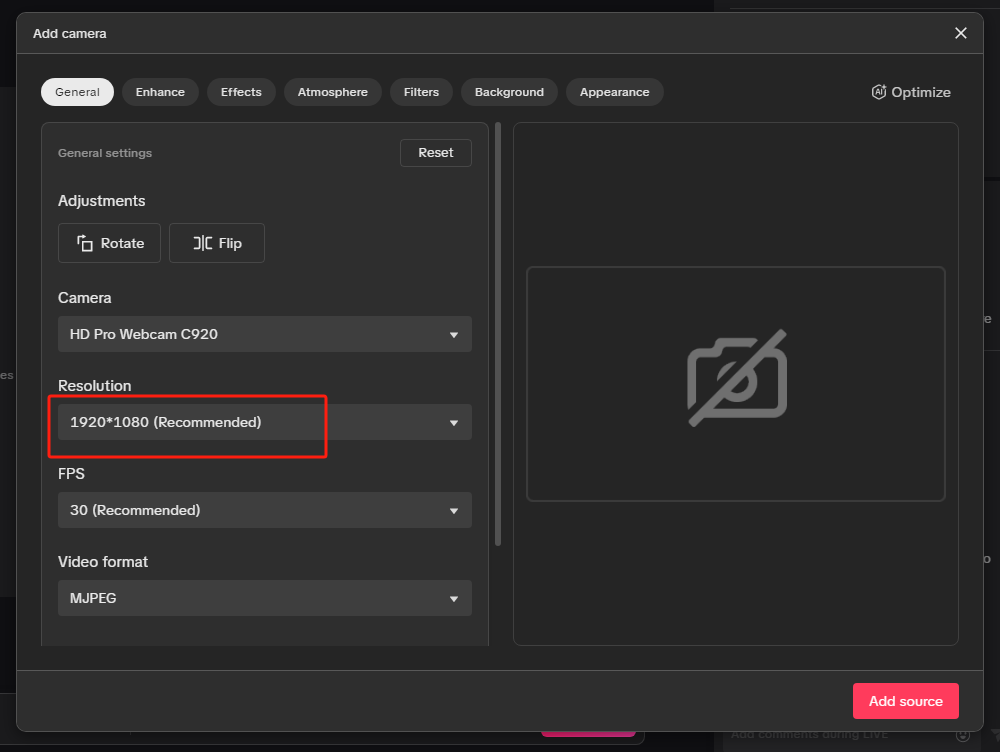
2.1.2 In YYCam Pro, add your physical camera capturing the image. Set the resolution to a landscape ratio, e.g., 1920x1080.
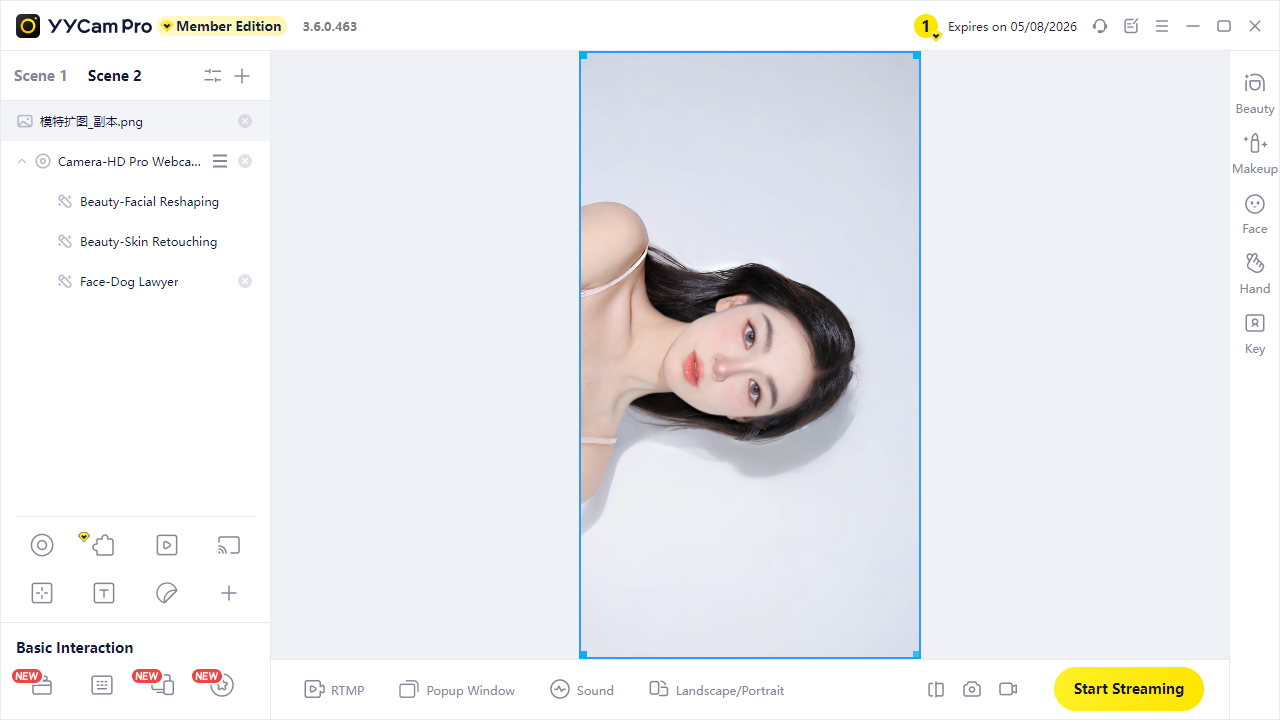
2.2 Setting Portrait Mode
2.2.1 Select the Portrait option.
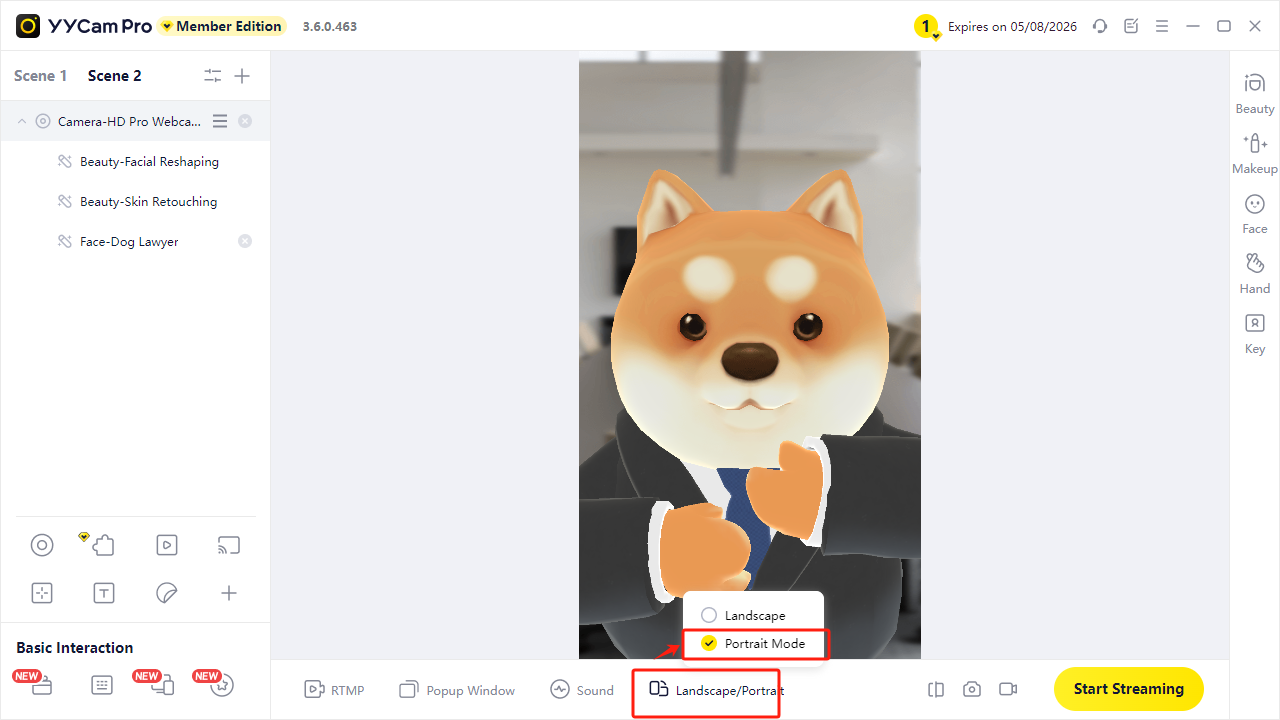
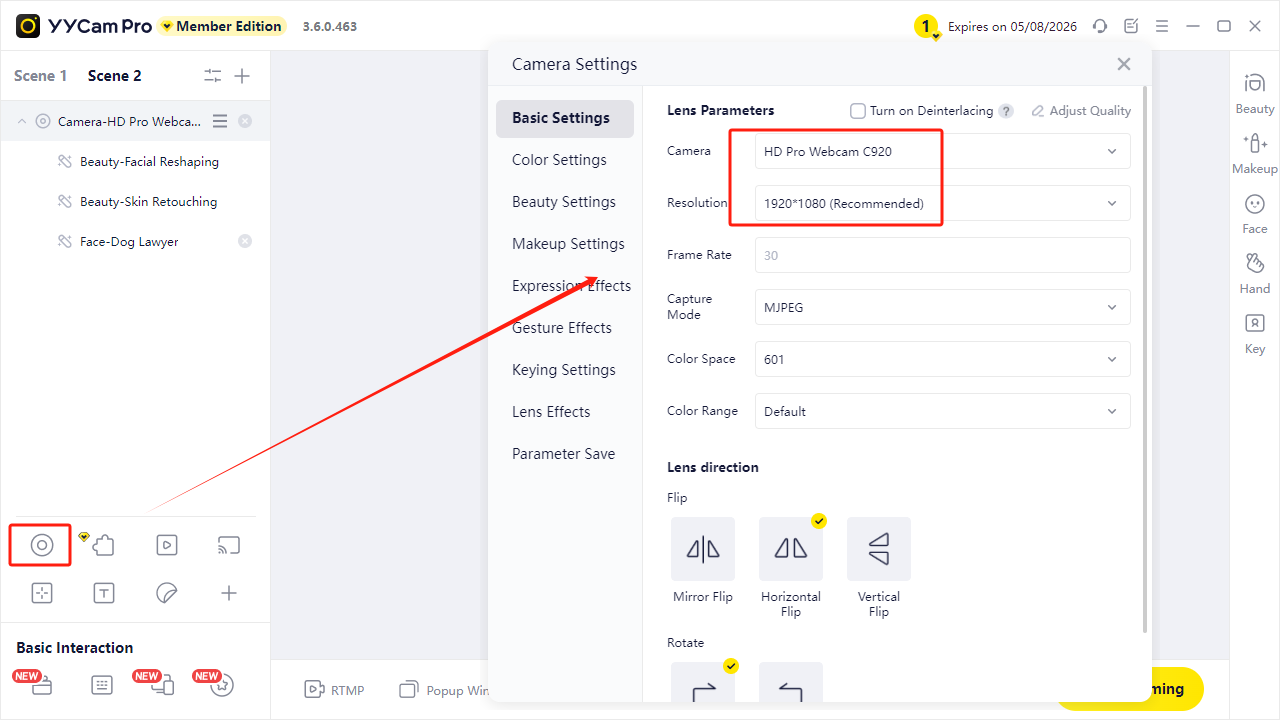
2.2.2 In YYCam Pro, add your physical camera capturing the image. Set the resolution to a landscape ratio, e.g., 1920x1080 (Most cameras cannot directly add a portrait ratio resolution. Therefore, use a landscape ratio resolution, then you will need to manually rotate your physical camera to an upright position and secure it).
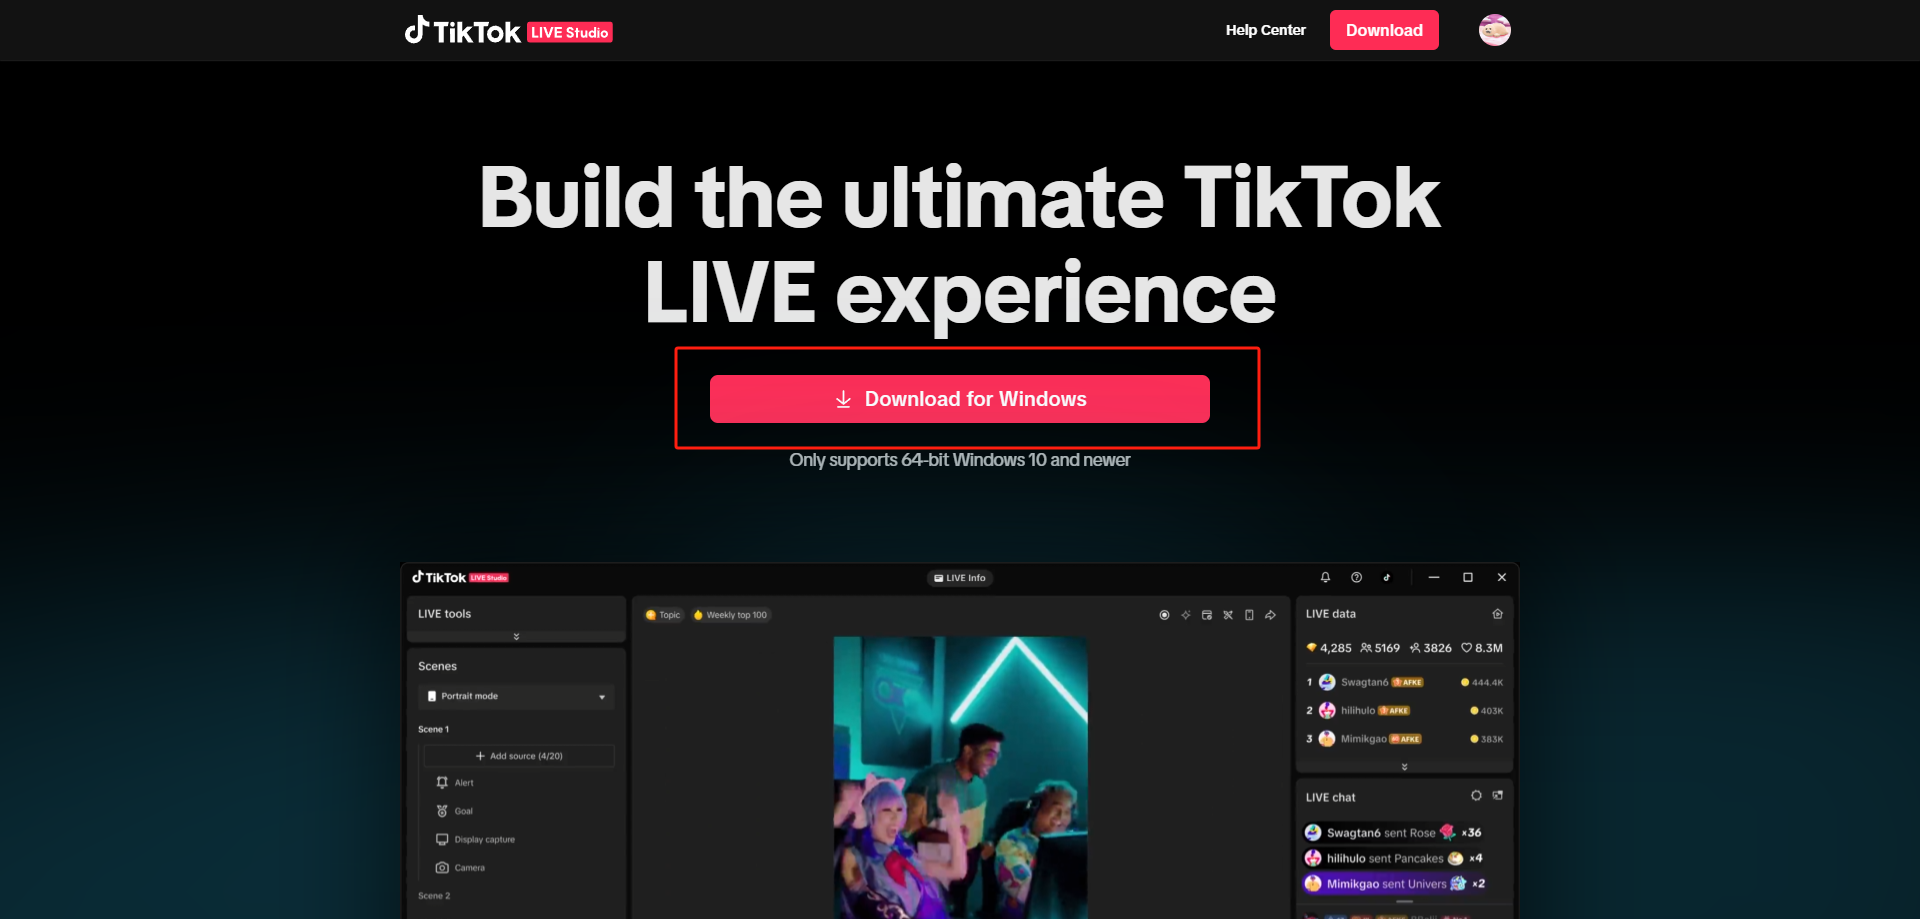
3. Install and Set Up TikTok LIVE Studio
To use TikTok LIVE Studio for live streaming, you first need to download and install it. Follow these steps to complete it easily:
3.1 Go to the TikTok LIVE Studio official website: `https://www.tiktok.com/studio/download`. Download the installer and complete the installation.
4. Add the YYCam Pro Camera in TikTok LIVE Studio
4.1 Landscape Live Stream Setup:
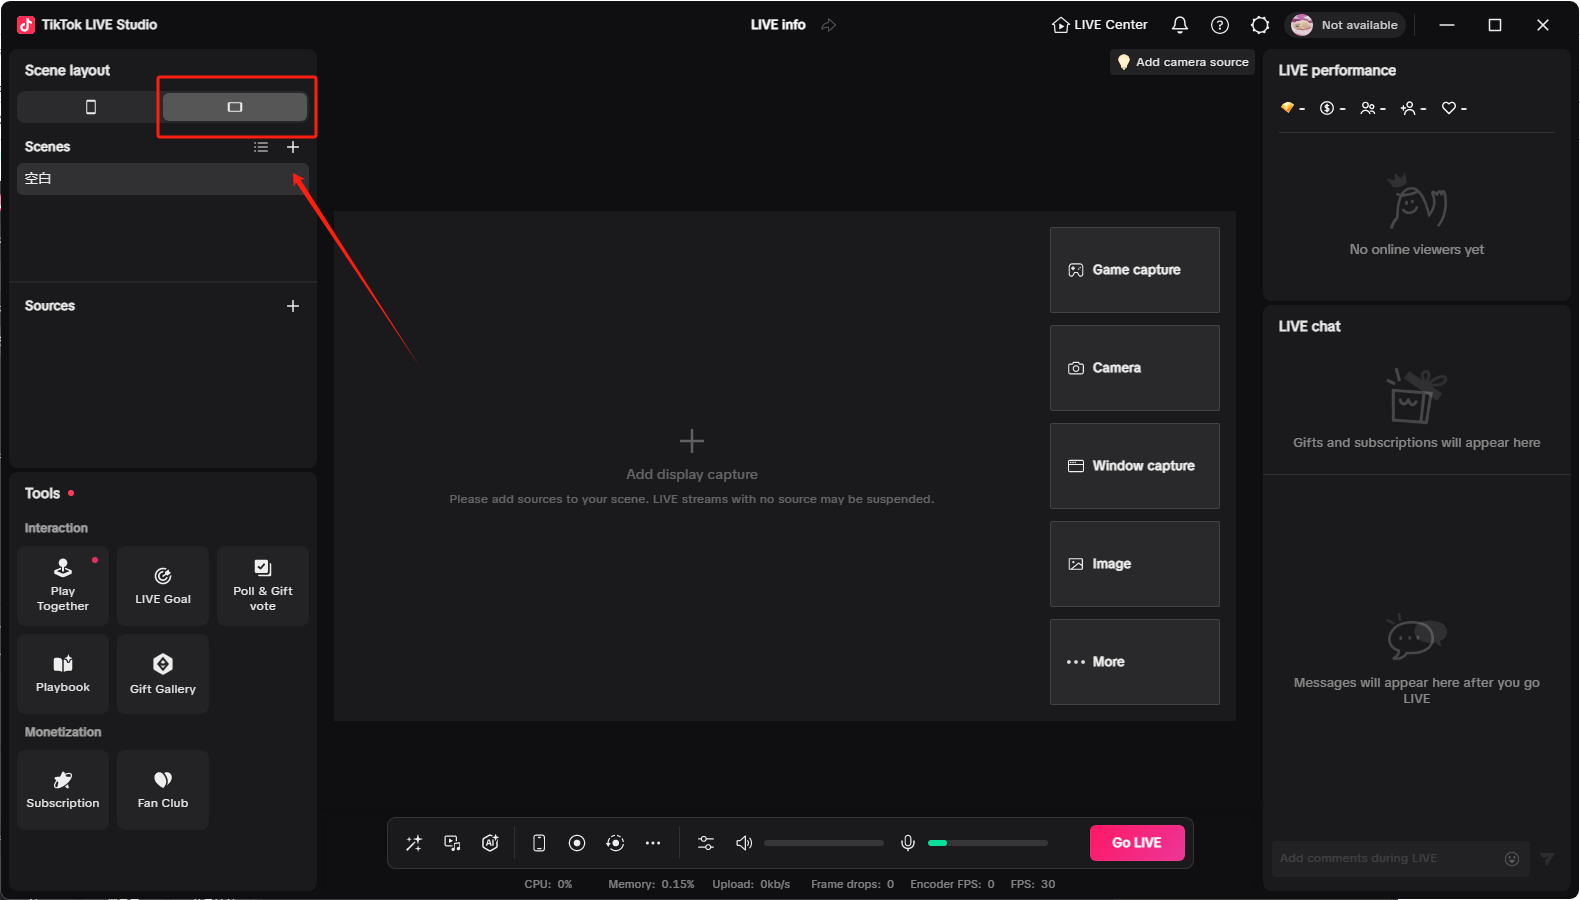
4.1.1 Open TikTok LIVE Studio. In the top-left Scene Layout, select Landscape.
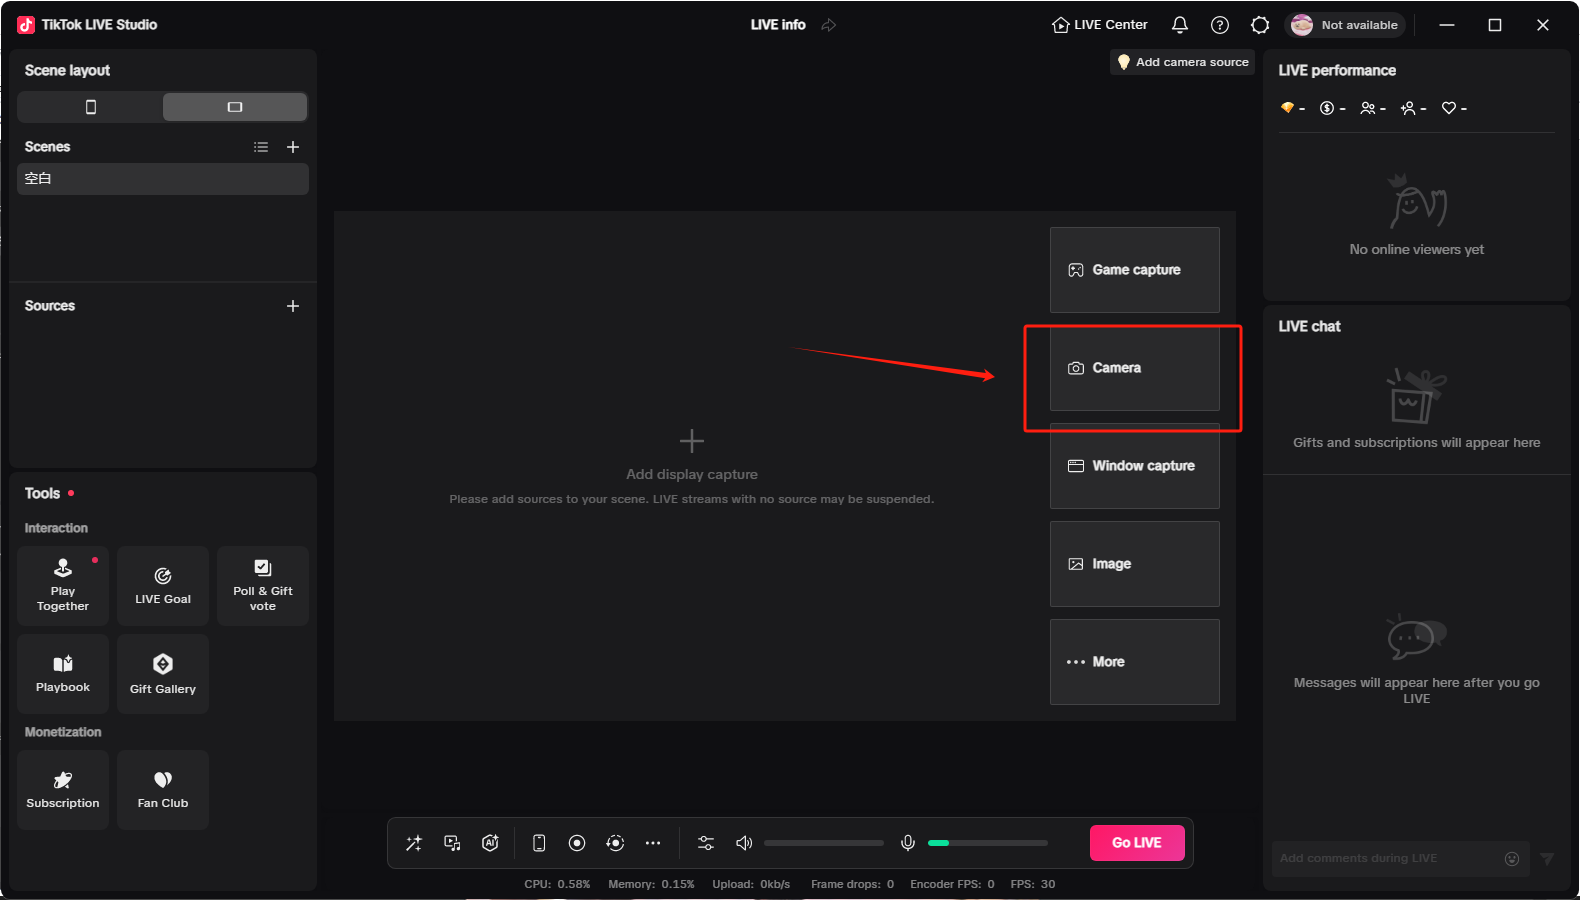
4.1.2 In TikTok LIVE Studio, add a camera source. Choose **YYCam Pro** as the camera. Set the resolution to a landscape ratio (e.g., 1920x1080). The YYCam Pro image will automatically sync to TikTok LIVE Studio.
Note: If YYCam Pro appears in the camera options but cannot be added, TikTok LIVE Studio might have inherent camera restrictions. Using a capture card connection might be necessary. Refer to this specific tutorial: `https://www.instagram.com/reel/DLHmZocMhub/?igsh=MWVvbnd4NXB5cmxldQ==`
4.2 Portrait Live Stream Setup::
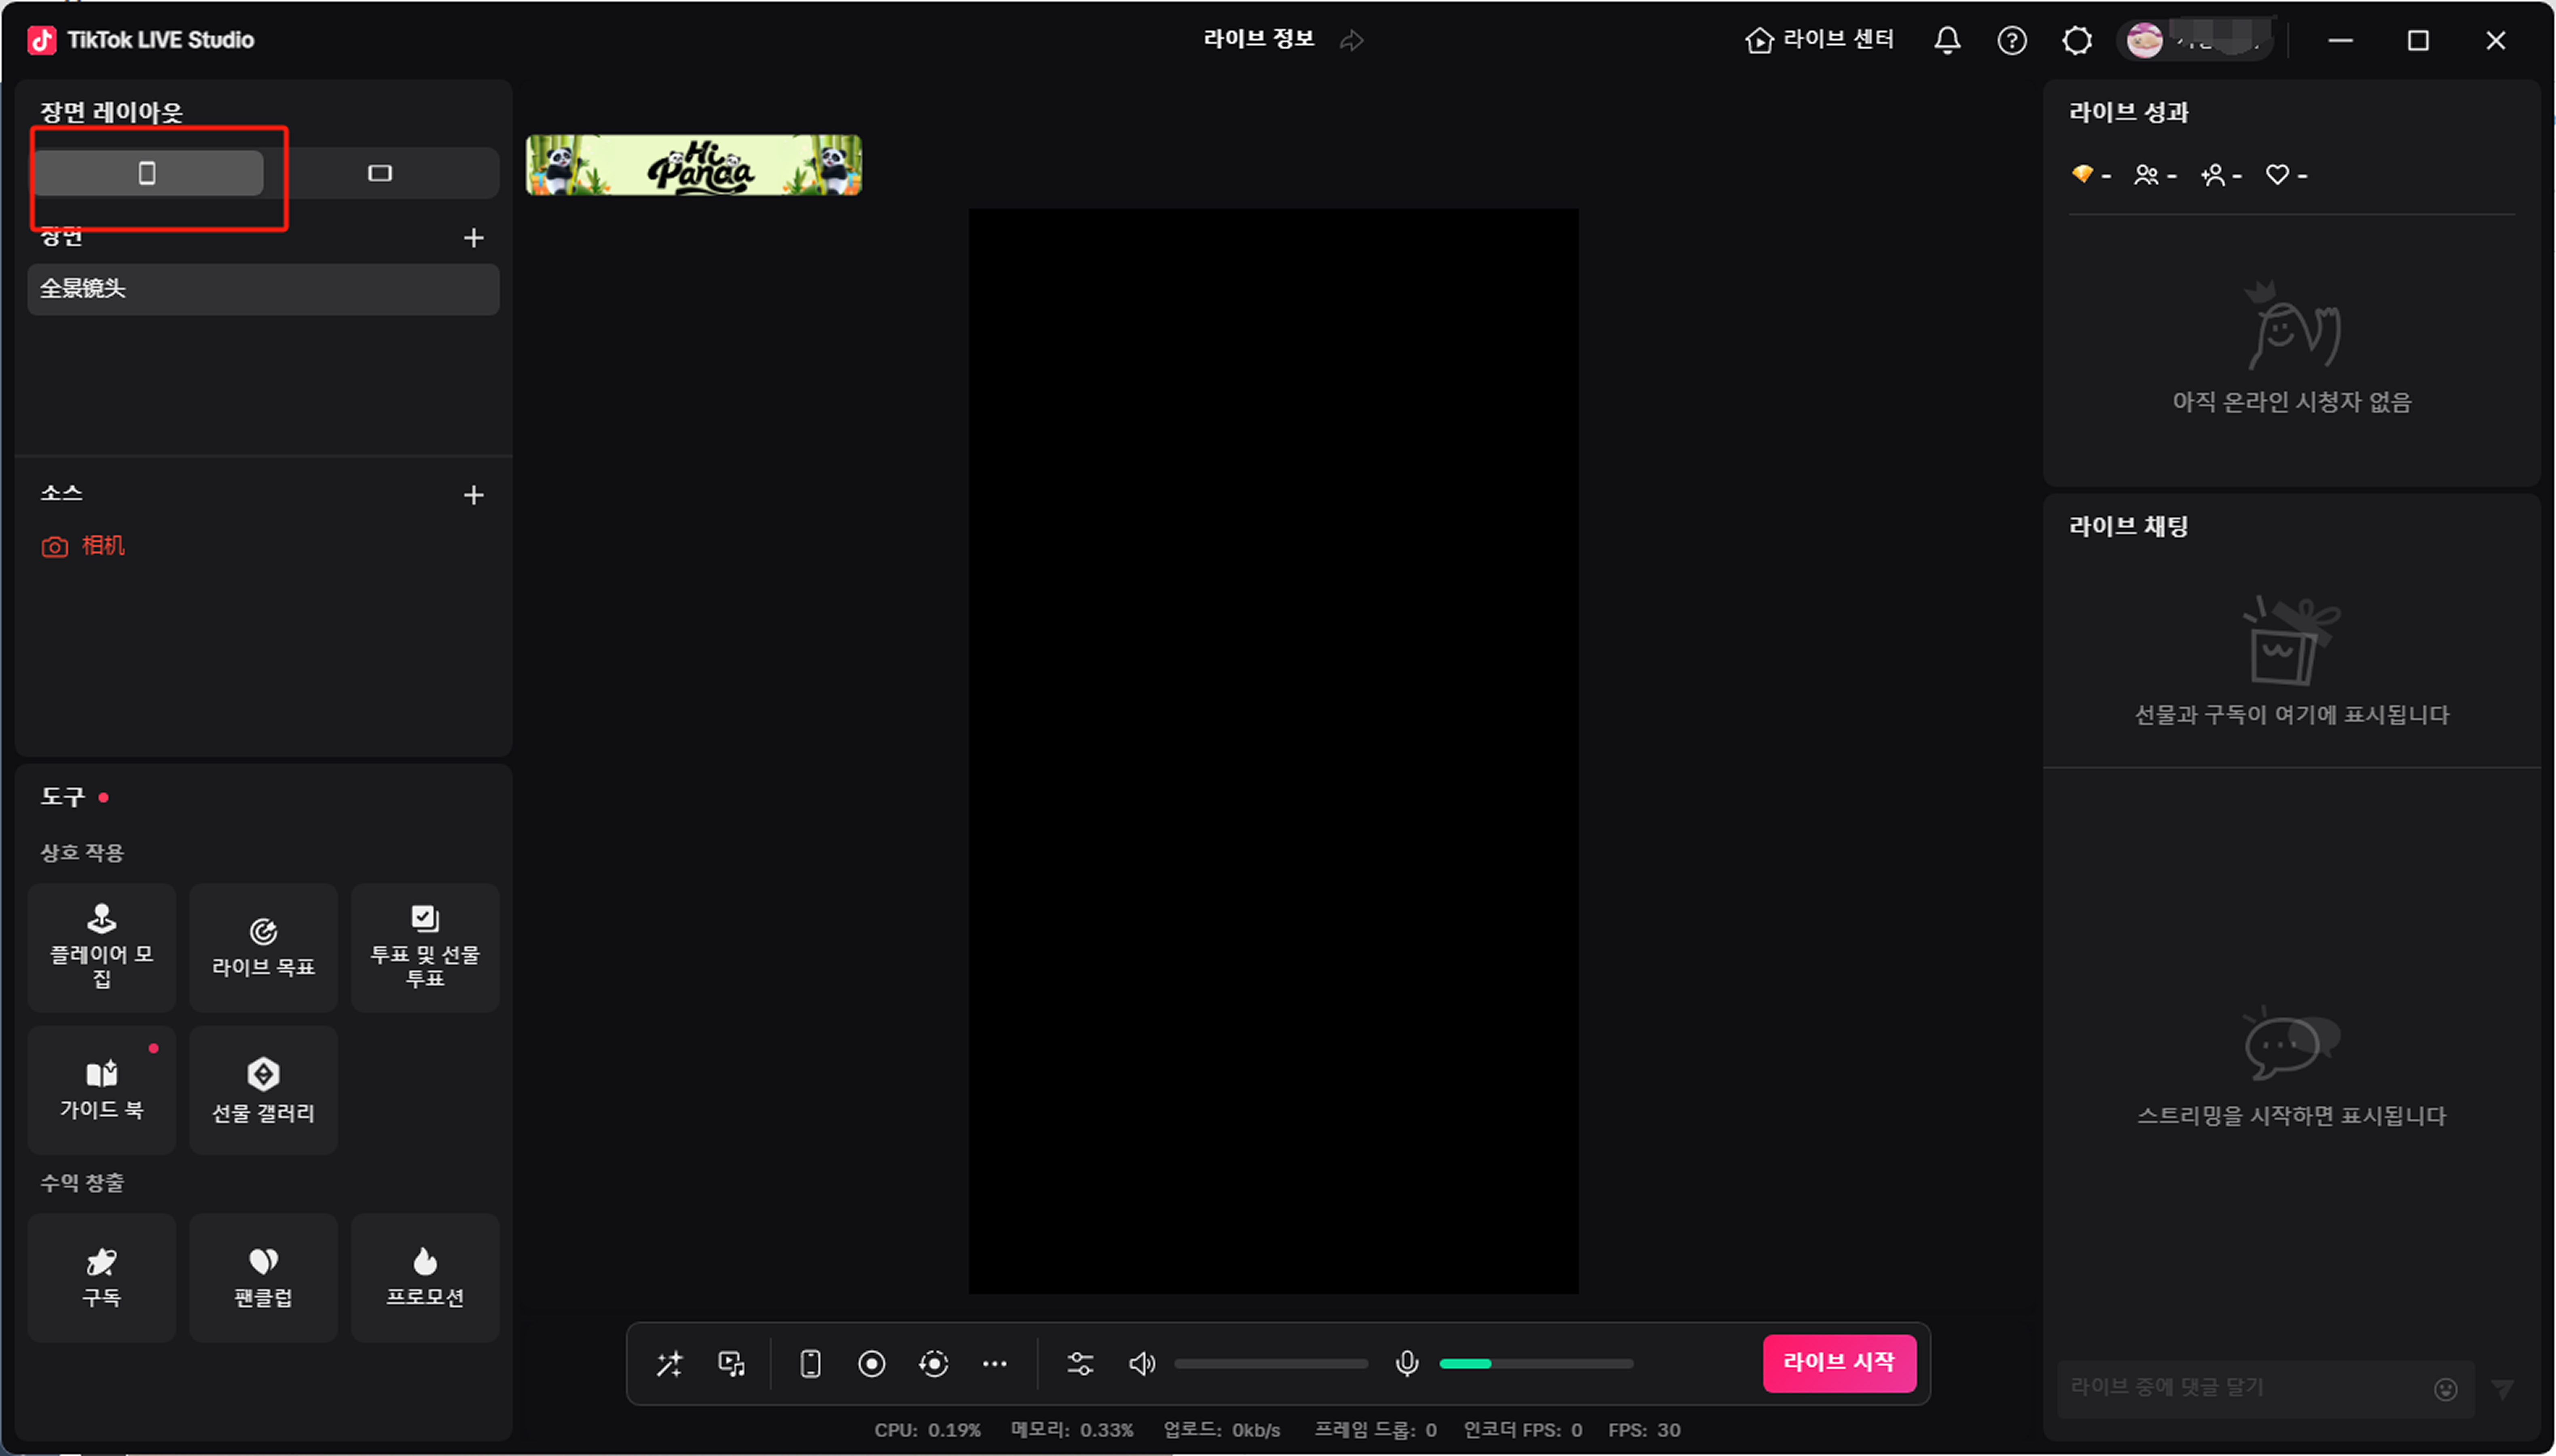
4.2.1 Open TikTok LIVE Studio. In the top-left Scene Layout, select Portrait.
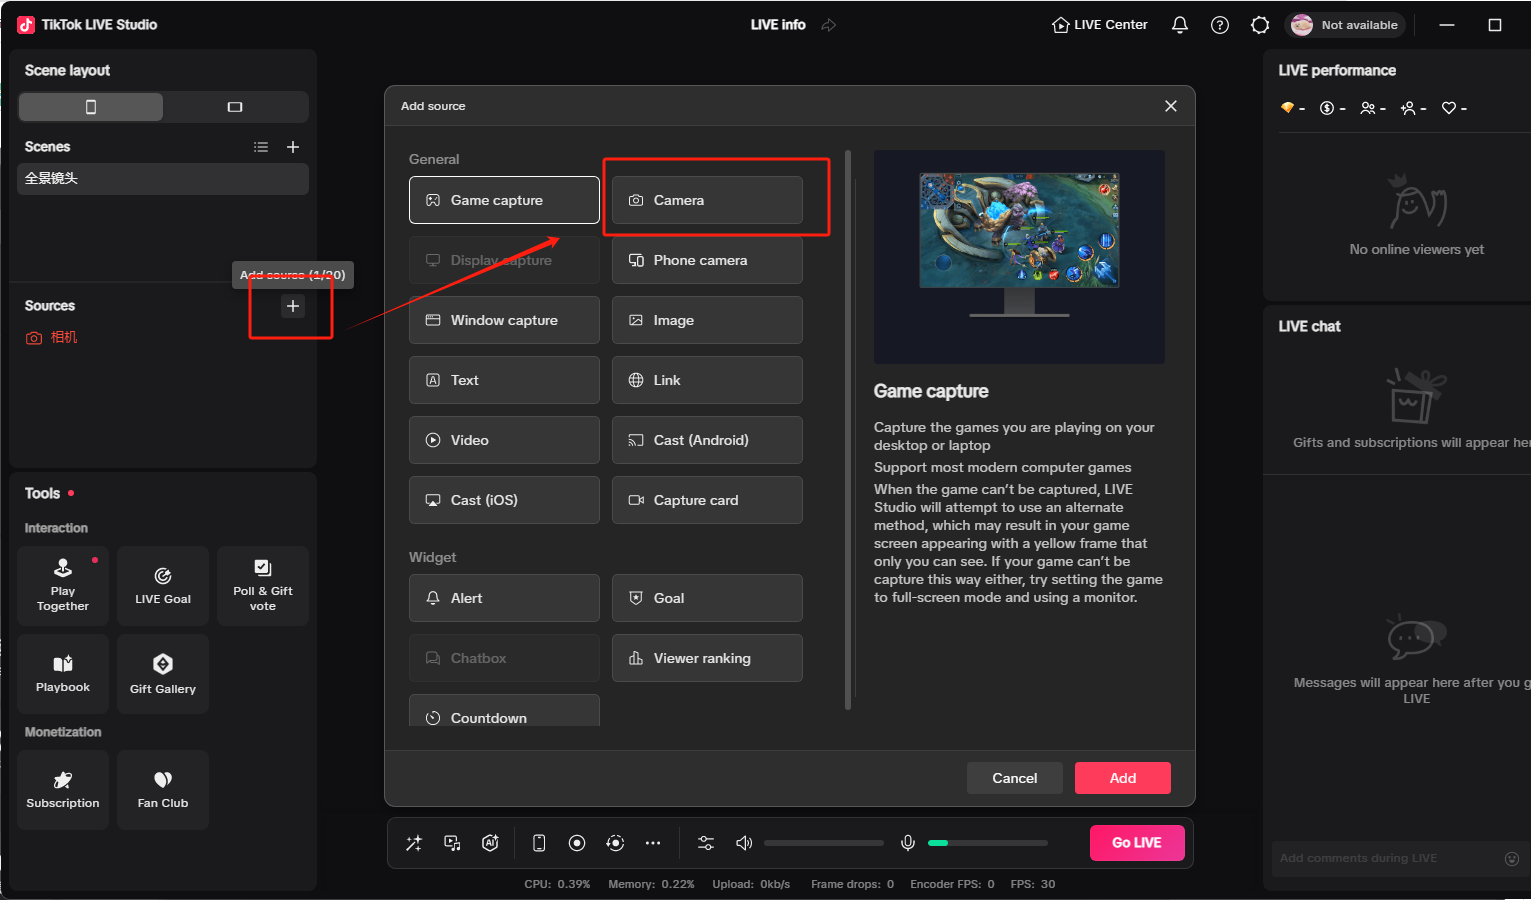
4.2.2 In TikTok LIVE Studio, add a camera source. Choose YYCam Pro as the camera. Set the resolution to a landscape ratio (e.g., 1920x1080 - note the swapped dimensions for portrait). The YYCam Pro image will automatically sync to TikTok LIVE Studio.
Note: If YYCam Pro appears in the camera options but cannot be added, TikTok LIVE Studio might have inherent camera restrictions. Using a capture card connection might be necessary. Refer to this specific tutorial: `https://www.instagram.com/reel/DLHmZocMhub/?igsh=MWVvbnd4NXB5cmxldQ==`
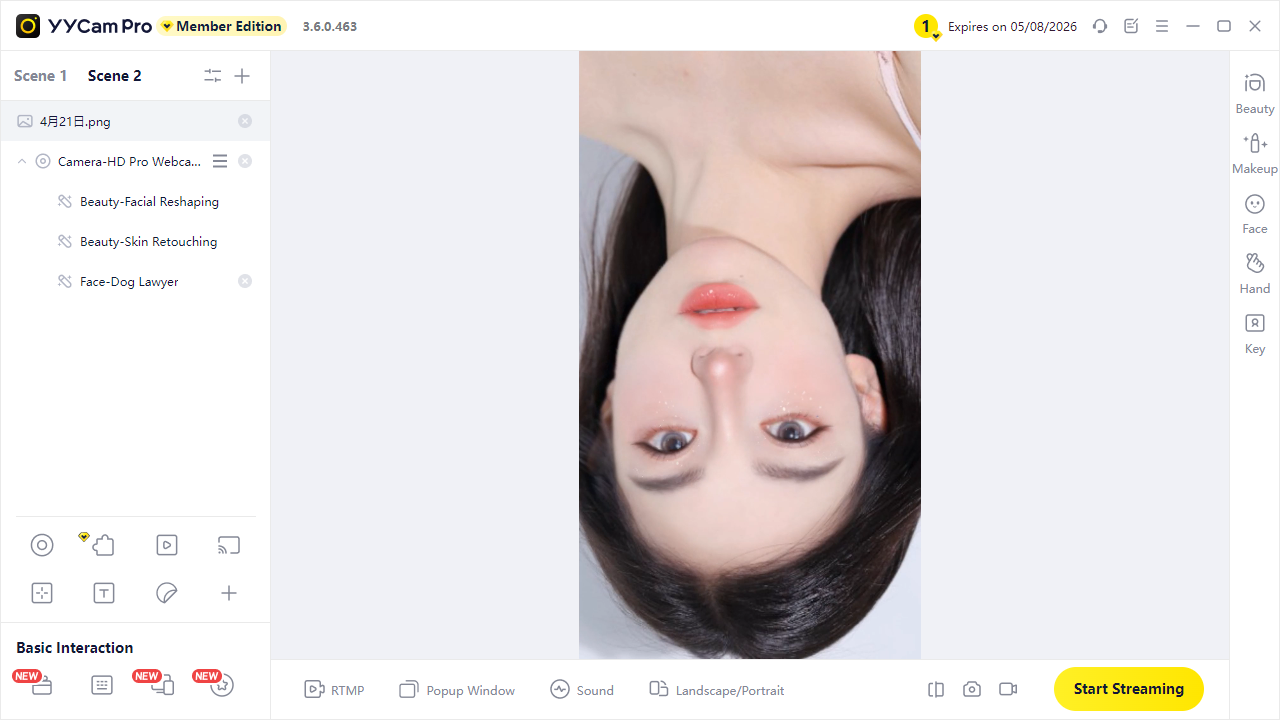
4.2.3. Potential Issues & Solutions for Portrait Setup:
① If the image isn't upright:Manually rotate your physical camera to an upright position and secure it.
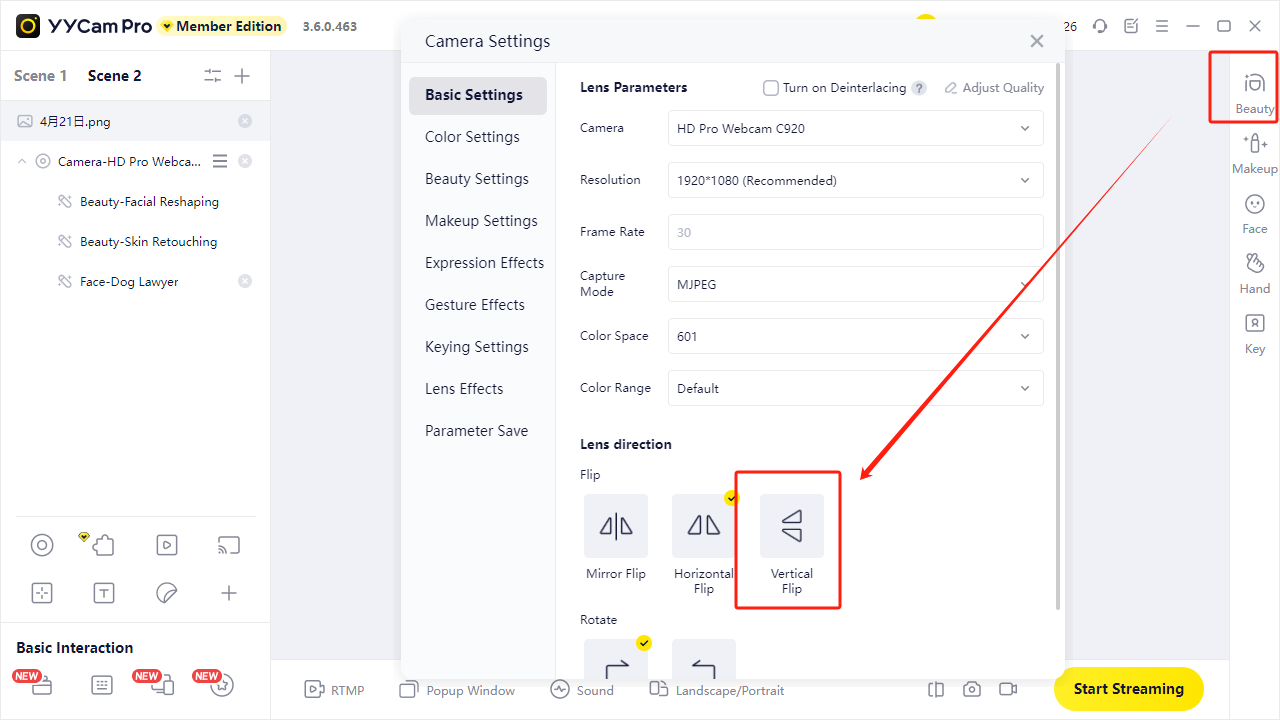
② If the image is upside down: Enable the Vertical Flip function within YYCam Pro or TikTok LIVE Studio (check both).
③ If the image appears distorted or stretched: In TikTok LIVE Studio, delete the YYCam Pro camera source. Then, close YYCam Pro. Finally, reopen YYCam Pro and re-add the YYCam Pro camera source in TikTok LIVE Studio.
You've now successfully integrated YYCam Pro with TikTok LIVE Studio. YYCam Pro's powerful features will help you effortlessly control your image quality during live streams. Try these features now and make every on-camera interaction impressive!